Difference between revisions of "Sacred 2:A Strange Machine"
(New page: {{subst:Quest}}) |
|||
| Line 1: | Line 1: | ||
| − | |||
| − | |||
| − | |||
<div class="plainlinks"> | <div class="plainlinks"> | ||
{|WIDTH="100%" | {|WIDTH="100%" | ||
|WIDTH="15%" VALIGN="TOP"|__TOC__ | |WIDTH="15%" VALIGN="TOP"|__TOC__ | ||
|WIDTH="35%" VALIGN="TOP"| | |WIDTH="35%" VALIGN="TOP"| | ||
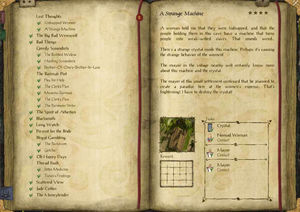
| − | * '''Quest Objective:''' | + | * '''Quest Objective:''' Confront the [[Sacred 2:Mayor|Mayor]] and destroy the crystal. |
| − | * '''Quest Difficulty:''' | + | * '''Quest Difficulty:''' 4 Stars |
| − | * '''Quest Giver:''' | + | * '''Quest Giver:''' [[Sacred 2:Nomad Woman|Nomad Woman]] |
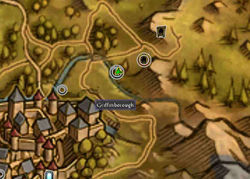
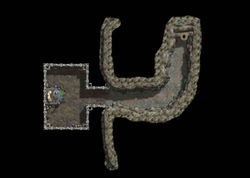
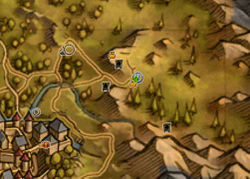
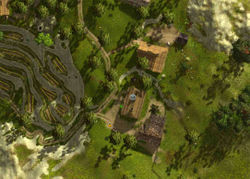
| − | * '''Location(s):''' | + | * '''Location(s):''' [[Sacred 2:Artamark|Artamark]], south of [[Sacred 2:Three Winds Winery|Three Winds Winery]] |
| − | * '''Prerequisite Quest:''' | + | * '''Prerequisite Quest:''' [[Sacred 2:Kidnapped Women|Kidnapped Women]] |
| − | * '''Next Quest:''' | + | * '''Next Quest:''' None |
| − | * '''Reward:''' | + | * '''Reward:''' [[Sacred 2:Experience|Experience]] |
| − | |WIDTH="50%" VALIGN="TOP"| | + | * '''Main Quest Page:'''[[Sacred 2:Lost Thoughts|Lost Thoughts]] |
| + | |WIDTH="50%" VALIGN="TOP"| | ||
| − | {{S2frame|[[Image: | + | {{S2frame|[[Image:nomadcavewomenmap.jpg|250px]][[Image:nomadcavewomentab.jpg|250px]]|right|'''[[Sacred 2:Map of Ancaria|View the Ancaria Interactive Map]]'''}} |
|} | |} | ||
{|WIDTH="100%" | {|WIDTH="100%" | ||
|WIDTH="60%" VALIGN="TOP"| | |WIDTH="60%" VALIGN="TOP"| | ||
== Quick Walkthrough == | == Quick Walkthrough == | ||
| − | + | ||
| − | * | + | * Talk to one of the [[Sacred 2:Nomad Woman|Nomad Women]] |
| − | * | + | * Collect the crystal |
| − | * | + | * Talk to the [[Sacred 2:Mayor|Mayor]] |
| − | |WIDTH="40%" VALIGN="TOP"|{{S2frame|[[Image: | + | |WIDTH="40%" VALIGN="TOP"|{{S2frame|[[Image:nomadcavewomenloc.jpg|500px]]}} |
|} | |} | ||
== Detailed Walkthrough == | == Detailed Walkthrough == | ||
| − | |||
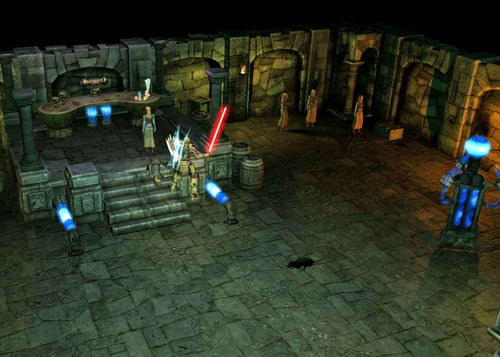
| − | + | When you talk to one of the Nomad Women she begs you not to hurt her. She explains that they were kidnapped and her captors are using some type of mind control machine to make all the women weak-willed. She urges you to destroy it. | |
| + | {{S2frame|[[Image:nomadwoman2chat.jpg|430px]]|left}} | ||
| + | <br clear="both" /> | ||
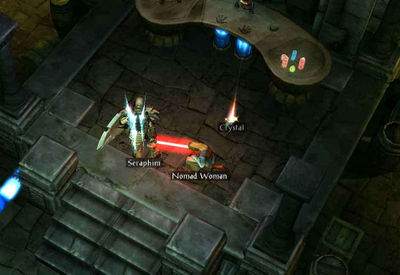
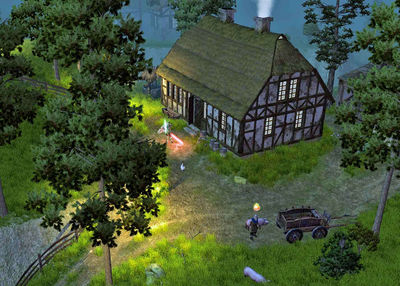
| − | + | You notice a crystal up on the dais and retrieve it, this must be the key to the whole operation. | |
| − | {{S2frame|[[Image: | + | {{S2frame|[[Image:nomadcrystal.jpg|400px]]|left}} |
<br clear="both" /> | <br clear="both" /> | ||
| + | The nomad woman is already convinced you've saved everyone. | ||
| − | {{S2frame|[[Image: | + | {{S2frame|[[Image:nomadwoman2chat2.jpg|430px]]|left}} |
<br clear="both" /> | <br clear="both" /> | ||
| − | + | With the crystal in hand you go to meet the local [[Sacred 2:Mayor|Mayor]]. When you accuse him of kidnapping women and brainwashing them. At first he becomes hostile but soon realizes he's no match for you. he tries to explain his actions - that the men were the happiest anywhere and population's booming......You've heard enough of his pathetic reasons and destroy the crystal right in front of him. He's devastated but at least you left him alive. | |
| − | |||
| − | |||
| + | {{S2frame|[[Image:mayormap.jpg|250px]][[Image:mayortab.jpg|250px]]|left]]}} | ||
| − | + | {{S2frame|[[Image:mayorloc.jpg|400px]]|left}} | |
| + | <br clear="both" /> | ||
| − | |||
| − | |||
| − | {{S2frame|[[Image: | + | {{S2frame|[[Image:mayorchat.jpg|430px]]|left}} |
<br clear="both" /> | <br clear="both" /> | ||
| − | = | + | {{S2frame|[[Image:mayorchat2.jpg|430px]]|left}} |
| − | + | <br clear="both" /> | |
| − | + | {{S2frame|[[Image:strangeachinechat.jpg|430px]]|left}} | |
| − | + | <br clear="both" /> | |
| − | = | + | {{S2frame|[[Image:mayorchat3.jpg|430px]]|left}} |
| − | + | <br clear="both" /> | |
| − | |||
| − | |||
| + | == Logbook Entry == | ||
| − | |||
| − | |||
{| | {| | ||
| − | |{{S2frame|[[Image: | + | |{{S2frame|[[Image:strangemachinelog.jpg|300px]]|left}} |
| − | |||
|} | |} | ||
== Notes == | == Notes == | ||
| − | |||
</div> | </div> | ||
| − | + | ||
[[Category:Sacred 2 Quest|{{PAGENAME}}]] | [[Category:Sacred 2 Quest|{{PAGENAME}}]] | ||
| − | + | ||
| − | [[Category:Sacred 2 Chain Quest | + | [[Category:Sacred 2 Chain Quest Part|{{PAGENAME}}]] |
| − | |||
| − | |||
| − | |||
| − | |||
| − | |||
| − | |||
Revision as of 22:41, 18 December 2011
|
| ||||||||||
Quick Walkthrough
|
| |||||||||
Detailed Walkthrough
When you talk to one of the Nomad Women she begs you not to hurt her. She explains that they were kidnapped and her captors are using some type of mind control machine to make all the women weak-willed. She urges you to destroy it.
|
| ||
You notice a crystal up on the dais and retrieve it, this must be the key to the whole operation.
|
| ||
The nomad woman is already convinced you've saved everyone.
|
| ||
With the crystal in hand you go to meet the local Mayor. When you accuse him of kidnapping women and brainwashing them. At first he becomes hostile but soon realizes he's no match for you. he tries to explain his actions - that the men were the happiest anywhere and population's booming......You've heard enough of his pathetic reasons and destroy the crystal right in front of him. He's devastated but at least you left him alive.
|
| ||
|
| ||
|
| ||
|
| ||
|
| ||
|
| ||
Logbook Entry
| |||||||||
