Difference between revisions of "Sacred 2:The Master of the Hunt - Shadow"
Jump to navigation
Jump to search
| Line 15: | Line 15: | ||
* '''Next Quest:''' [[Sacred 2:The Master is Dead - Long Live the Master|The Master is Dead - Long Live the Master]] | * '''Next Quest:''' [[Sacred 2:The Master is Dead - Long Live the Master|The Master is Dead - Long Live the Master]] | ||
* '''Reward:''' Hunter's Amulet | * '''Reward:''' Hunter's Amulet | ||
| − | |WIDTH="20%" VALIGN="TOP"| | + | |WIDTH="20%" VALIGN="TOP"|[http://www.sacredwiki.org/images/Sacred_2/quests/Chapter%2003/HuntMaster%20Shadow/GrottoDeathMap.jpg http://www.sacredwiki.org/images/Sacred_2/quests/Chapter%2003/HuntMaster%20Shadow/th_GrottoDeathMap.jpg] |
<br /> | <br /> | ||
|} | |} | ||
Revision as of 11:29, 12 October 2010
|
|
Quick Walkthrough
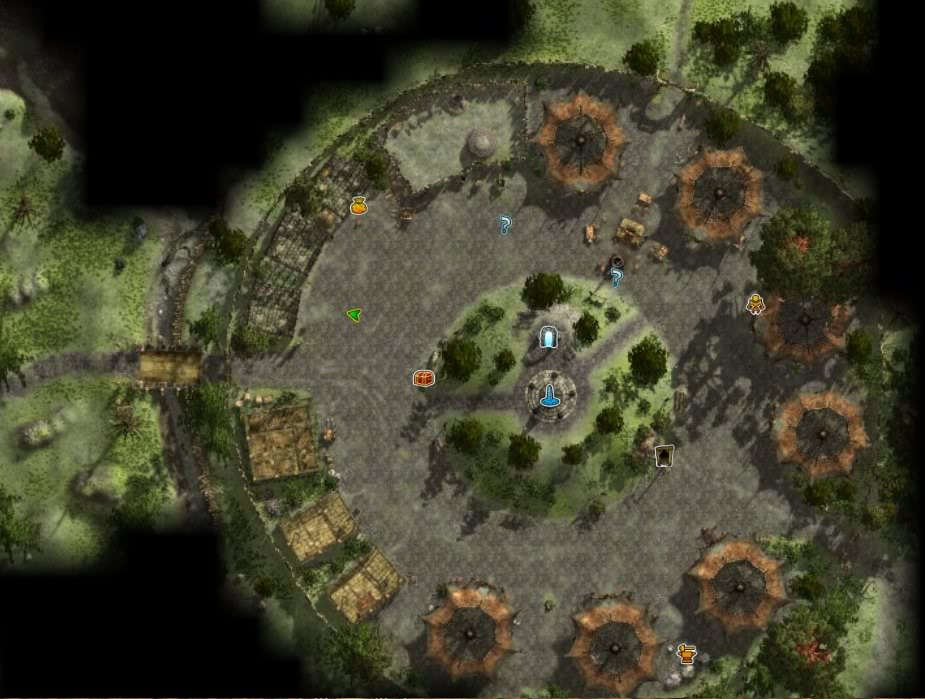
- Defeat Lupus Coldhand
Detailed Walkthrough
The Master Hunter Lupus Coldhand has decided he isn't going to relinquish his title after all. That is, you're going to have to kill him to get it. So... You kick his backside and he will drop the amulet. It's yours. Now you have to talk to the Orc Shaman in the next quest...
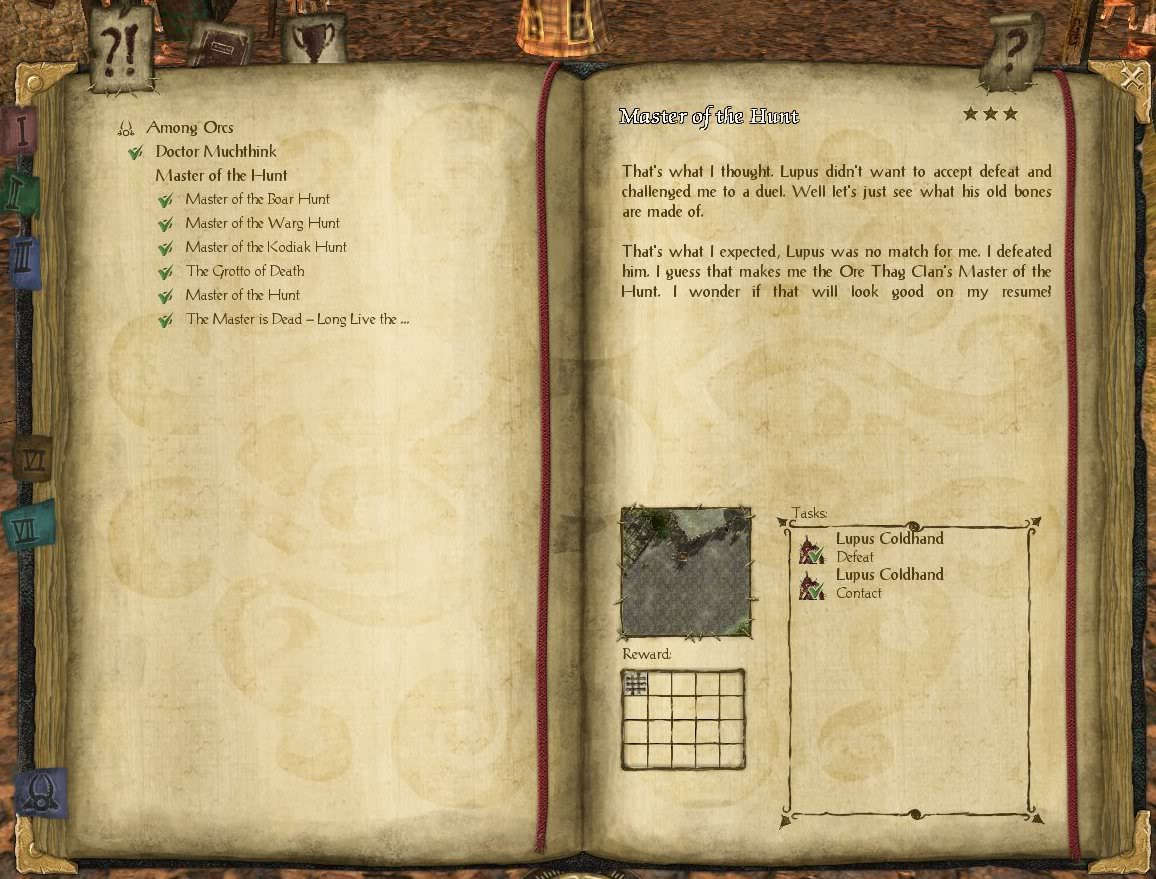
Logbook Entry
Notes
This quest and the next, final quest in this chain are where the shadow version is different from the light version. The light version combines the fight and the visit to the Orc Shaman into one quest while this one breaks it up into two.
[[Category:Sacred 2 Chain Quest]|The Master of the Hunt - Shadow]