Difference between revisions of "Sacred 2:Explanations"
Jump to navigation
Jump to search
(Added dialog pics) |
(Add pics) |
||
| Line 15: | Line 15: | ||
|} | |} | ||
| + | {|WIDTH="100%" | ||
| + | |WIDTH="60%" VALIGN="TOP"| | ||
== Quick Walkthrough == | == Quick Walkthrough == | ||
__TOC__ | __TOC__ | ||
| − | |||
*Enter the base | *Enter the base | ||
*Speak to [[Sacred 2:Mishirla|Mishirla]] | *Speak to [[Sacred 2:Mishirla|Mishirla]] | ||
*Speak to [[Sacred 2:Mishirla|Mishirla]] again | *Speak to [[Sacred 2:Mishirla|Mishirla]] again | ||
| + | |WIDTH="40%" VALIGN="TOP"|{{S2frame|[[Image:Explanations_MishirlaCamera.jpg|500px]]}} | ||
| + | |} | ||
== Detailed Walkthrough == | == Detailed Walkthrough == | ||
| − | After finishing the previous quest, Mirshirla reappears and wants to talk. He tells you about the falling out between two great mages [[Sacred 2:Diaanja|Diaanja]] and [[Sacred 2:Kormynth|Kormynth | + | After finishing the previous quest, Mirshirla reappears and wants to talk. He tells you about the falling out between two great mages [[Sacred 2:Diaanja|Diaanja]] and [[Sacred 2:Kormynth|Kormynth]]. |
| − | {{S2frame|[[Image: | + | {{S2frame|[[Image:Explanations_Mishirla1Dialog.jpg]]|left}} |
<br clear="both" /> | <br clear="both" /> | ||
He suggests that you go investiage Diaanja's estate which is nearby | He suggests that you go investiage Diaanja's estate which is nearby | ||
| − | {{S2frame|[[Image: | + | {{S2frame|[[Image:Explanations_Mishirla2Dialog.jpg]]|left}} |
<br clear="both" /> | <br clear="both" /> | ||
Revision as of 23:54, 3 June 2011
|
| |||||||||

Quick Walkthrough |
| |||||||||

Detailed Walkthrough
After finishing the previous quest, Mirshirla reappears and wants to talk. He tells you about the falling out between two great mages Diaanja and Kormynth.
|
| ||
 |
||
He suggests that you go investiage Diaanja's estate which is nearby
|
| ||
 |
||
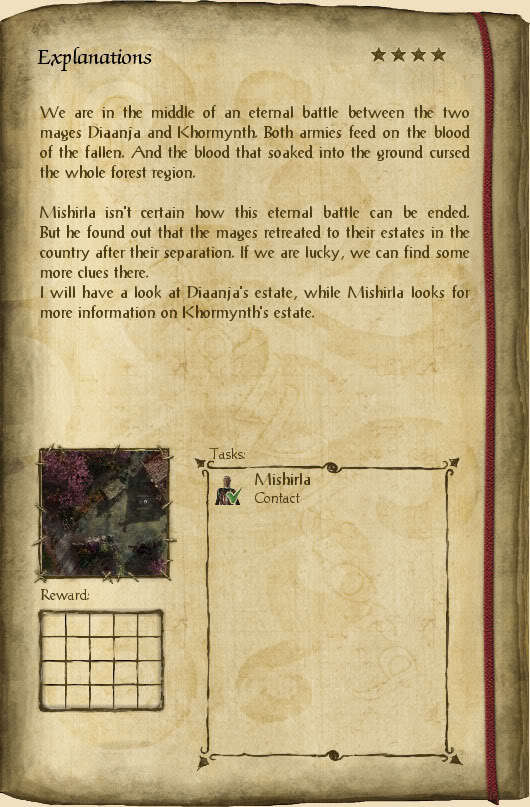
Logbook Entry
Click on the thumbnail for a larger view.