Difference between revisions of "Sacred 2:Lost"
Jump to navigation
Jump to search
(replace photobucket pic(s) and frame/format) |
|||
| (15 intermediate revisions by 6 users not shown) | |||
| Line 9: | Line 9: | ||
* '''Prerequisite Quest:''' None | * '''Prerequisite Quest:''' None | ||
* '''Next Quest:''' None | * '''Next Quest:''' None | ||
| − | * '''Reward:''' Experience | + | * '''Reward:''' [[Sacred 2:Experience|Experience]], [[Sacred 2:Gold |Gold]] |
| − | |WIDTH="20%" VALIGN="TOP"| | + | |WIDTH="20%" VALIGN="TOP"|Click to enlarge |
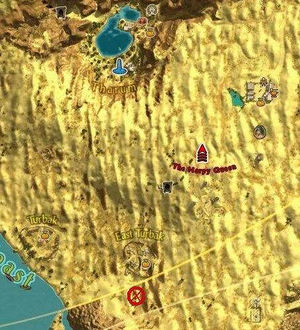
| − | + | {{S2frame|[[Image:lost map start.jpg|300px]]}} | |
| + | |||
|} | |} | ||
== Quick Walkthrough == | == Quick Walkthrough == | ||
| − | |||
<br /> | <br /> | ||
* Talk to Lonely Ogre | * Talk to Lonely Ogre | ||
| − | * Escort the Lonely Ogre to Zahrat | + | * Escort the Lonely Ogre to Zahrat Coast |
* Talk to Lonely Ogre again | * Talk to Lonely Ogre again | ||
<br /> | <br /> | ||
| + | |||
| + | |||
| + | == Detailed Walkthrough == | ||
| + | <br /> | ||
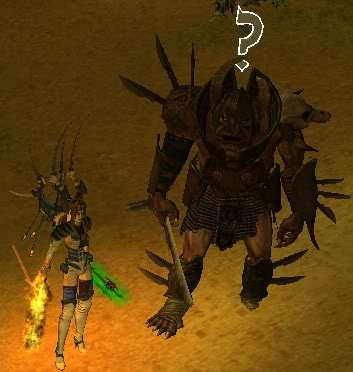
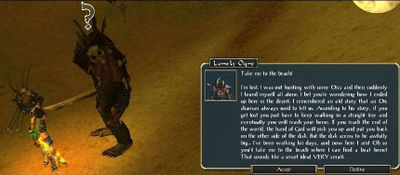
| + | * Talk to Lonely Ogre | ||
| + | |||
| + | <br /> | ||
| + | |||
| + | {{S2frame|[[Image:lost npc.jpg|400px]]|left}} | ||
| + | <br clear="both" /> | ||
| + | <br /> | ||
| + | |||
| + | |||
| + | {{S2frame|[[Image:lost npc quest.jpg|400px]]|left}} | ||
| + | <br clear="both" /> | ||
| + | |||
| + | <br /> | ||
| + | |||
| + | |||
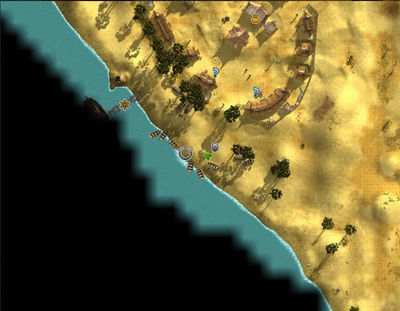
| + | * Escort the Lonely Ogre to Zahrat Coast | ||
| + | |||
<br /> | <br /> | ||
<br /> | <br /> | ||
| − | + | ||
| − | + | {{S2frame|[[Image:lost destination.jpg|400px]]|left}} | |
| + | <br clear="both" /> | ||
<br /> | <br /> | ||
| − | + | ||
| + | |||
| + | {{S2frame|[[Image:lost destination2.jpg|400px]]|left}} | ||
| + | <br clear="both" /> | ||
<br /> | <br /> | ||
| − | + | ||
<br /> | <br /> | ||
| − | + | ||
| + | * Talk to Lonely Ogre again | ||
| + | |||
<br /> | <br /> | ||
| − | + | ||
| + | {{S2frame|[[Image:lost npc final.jpg|400px]]|left}} | ||
| + | <br clear="both" /> | ||
| + | |||
<br /> | <br /> | ||
| − | |||
| + | {{S2frame|[[Image:lost complete.jpg|400px]]|left}} | ||
| + | <br clear="both" /> | ||
| + | <br /> | ||
== Logbook Entry == | == Logbook Entry == | ||
| − | < | + | <br /> |
| − | |||
| + | {{S2frame|[[Image:lost logbook.jpg|400px]]|left}} | ||
| + | <br clear="both" /> | ||
| + | <br /> | ||
== Notes == | == Notes == | ||
| − | Remember to use the spacebar and heal the Lonely Ogre if his | + | <br /> |
| + | Remember to use the spacebar and heal the Lonely Ogre if his health gets low | ||
| + | <br /> | ||
</div> | </div> | ||
| − | [[Category:Sacred 2 Side Quest]] | + | |
| + | [[Category:Sacred 2 Side Quest|{{SUBPAGENAME}}]] | ||
| + | [[Category:Sacred 2 Quest|{{SUBPAGENAME}}]] | ||
| + | [[Category:Sacred 2 Bengaresh Desert Quest|{{PAGENAME}}]] | ||
Latest revision as of 20:03, 1 September 2013
|
Click to enlarge
| ||||||||||
Quick Walkthrough
- Talk to Lonely Ogre
- Escort the Lonely Ogre to Zahrat Coast
- Talk to Lonely Ogre again
Detailed Walkthrough
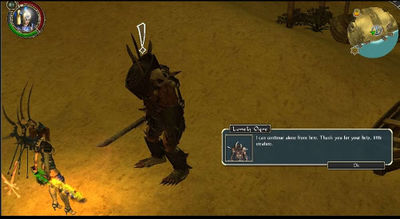
- Talk to Lonely Ogre
|
| ||
|
| ||
- Escort the Lonely Ogre to Zahrat Coast
|
| ||
|
| ||
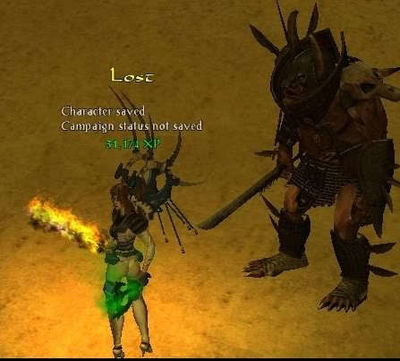
- Talk to Lonely Ogre again
|
| ||
|
| ||
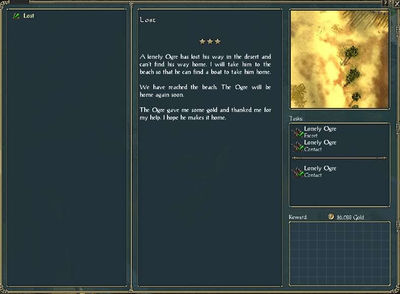
Logbook Entry
|
| ||
Notes
Remember to use the spacebar and heal the Lonely Ogre if his health gets low
