Difference between revisions of "Sacred 2:Suspicion"
| Line 1: | Line 1: | ||
{{Languages}} | {{Languages}} | ||
| − | |||
<div class="plainlinks"> | <div class="plainlinks"> | ||
| − | {| | + | {|WIDTH="100%" |
| − | |WIDTH=" | + | |WIDTH="15%" VALIGN="TOP"|__TOC__ |
| − | |WIDTH=" | + | |WIDTH="35%" VALIGN="TOP"| |
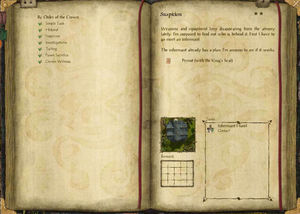
* '''Quest Objective:''' Meet with the Informant in the tavern between Griffinborough and Black Oaks | * '''Quest Objective:''' Meet with the Informant in the tavern between Griffinborough and Black Oaks | ||
| − | * '''Quest Difficulty:''' | + | * '''Quest Difficulty:''' 2 Stars |
| − | * '''Quest Giver:''' [[Sacred 2:Commander|Commander]] | + | * '''Quest Giver:''' [[Sacred 2:Commander - NPC|Commander]] |
| − | * '''Location(s):''' Griffinborough | + | * '''Location(s):''' [[Sacred 2:Griffinborough|Griffinborough]] |
* '''Prerequisite Quest:''' [[Sacred 2:Hideout|Hideout]] | * '''Prerequisite Quest:''' [[Sacred 2:Hideout|Hideout]] | ||
| − | * '''Next Quest:''' [[Sacred 2:Investigations | + | * '''Next Quest:''' [[Sacred 2:By Order of the Crown - Investigations|Investigations]] |
* '''Reward:''' Whatever gold and goodies you pick up along the way, experience | * '''Reward:''' Whatever gold and goodies you pick up along the way, experience | ||
| − | |WIDTH=" | + | * '''Main Quest Page:''' [[Sacred 2:By Order of the Crown|By Order of the Crown]] |
| − | + | |WIDTH="50%" VALIGN="TOP"| | |
| + | |||
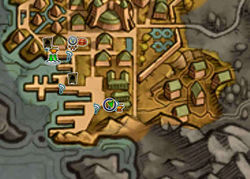
| + | {{S2frame|[[Image:commandermap.jpg|250px]][[Image:commandertab.jpg|250px]]|right|'''[[Sacred 2:Map of Ancaria|View the Ancaria Interactive Map]]'''}} | ||
| + | |} | ||
| + | {|WIDTH="100%" | ||
| + | |WIDTH="60%" VALIGN="TOP"| | ||
| + | == Quick Walkthrough == | ||
| + | * Talk to Commander | ||
| + | * Get the '''Permit (with King's Seal)''' (automatic) | ||
| + | * Travel to tavern (halfway between [[Sacred 2:Black Oaks|Black Oaks]] and Griffinborough) | ||
| + | * Talk to [[Sacred 2:Informant Harol|Informant Harol]] | ||
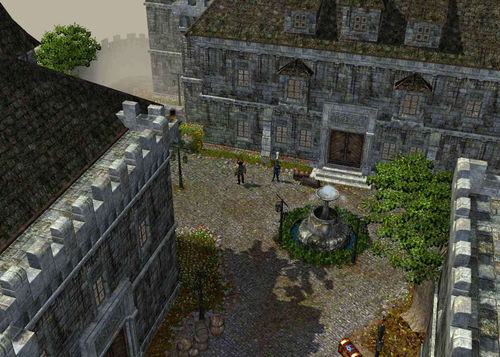
| + | |WIDTH="40%" VALIGN="TOP"|{{S2frame|[[Image:commandernpcloc.jpg|500px]]}} | ||
|} | |} | ||
| − | == | + | == Detailed Walkthrough == |
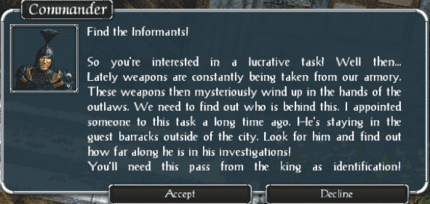
| − | + | Talk to the Commander of the military garrison at Griffinborough. He will tell you that he's got a mission for you. He needs you to help find out where the weapons are going from his armory. He's going to send you to a tavern in Central Artamark to meet with one of his top investigators. Head out west and meet up with the Informant Harol. He also give you a royal seal so Harol will know you are legitimate. | |
| − | + | ||
| − | + | {{S2frame|[[Image:commanderchat2.gif|430px]]|left}} | |
| − | + | <br clear="both" /> | |
| + | |||
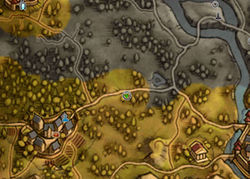
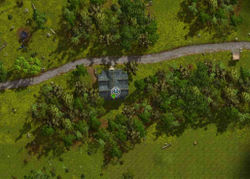
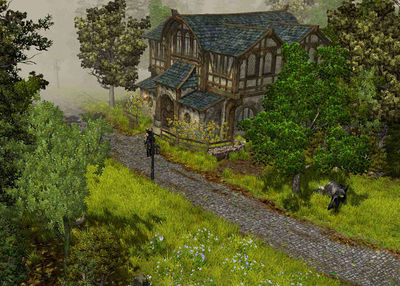
| + | You head west on the road to [[Sacred 2:Black Oaks|Black Oaks]]. About halfway in between Black Oaks and Griffinborough you'll come across a tavern. Go inside and you'll see Harol over by the bar. You approach him and show the seal. Once he's is satisfied you are who yo say you are, he tells you his plan. | ||
| + | |||
| + | |||
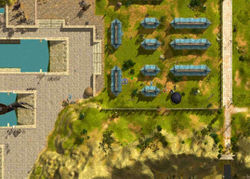
| + | {{S2frame|[[Image:haroldmap.jpg|250px]][[Image:haroldtab.jpg|250px]]|left]]}} | ||
| + | {{S2frame|[[Image:haroldloc.jpg|400px]]|left}} | ||
| + | <br clear="both" /> | ||
| − | = | + | {{S2frame|[[Image:haroldchat1.gif|430px]]|left}} |
| − | + | <br clear="both" /> | |
| + | He's been able to determine who the middle man is. Luckily the deals are typically done through backers so the dealers don't know anyone by sight. If you can disguise yourself and go to the meeting in their place, it could be the break Harol needs to continue the investigation. | ||
| + | This end part 3 of the chain quest. Talk to Harol again to begin the 4th part, [[Sacred 2:By Order of the Crown - Investigations|Investigations]]' | ||
== Logbook Entry == | == Logbook Entry == | ||
| − | [ | + | {| |
| + | |{{S2frame|[[Image:suspicionlog.jpg|300px]]|left}} | ||
| + | |} | ||
Revision as of 01:39, 10 October 2013
|
| ||||||||||
Quick Walkthrough
|
| |||||||||
Detailed Walkthrough
Talk to the Commander of the military garrison at Griffinborough. He will tell you that he's got a mission for you. He needs you to help find out where the weapons are going from his armory. He's going to send you to a tavern in Central Artamark to meet with one of his top investigators. Head out west and meet up with the Informant Harol. He also give you a royal seal so Harol will know you are legitimate.
|
| ||
You head west on the road to Black Oaks. About halfway in between Black Oaks and Griffinborough you'll come across a tavern. Go inside and you'll see Harol over by the bar. You approach him and show the seal. Once he's is satisfied you are who yo say you are, he tells you his plan.
|
| ||
|
| ||
|
| ||
He's been able to determine who the middle man is. Luckily the deals are typically done through backers so the dealers don't know anyone by sight. If you can disguise yourself and go to the meeting in their place, it could be the break Harol needs to continue the investigation.
This end part 3 of the chain quest. Talk to Harol again to begin the 4th part, Investigations'
Logbook Entry
| |||||||||
