Difference between revisions of "Sacred 2:Kidnapped Women"
(New page: {{subst:Quest}}) |
|||
| Line 1: | Line 1: | ||
| − | |||
| − | |||
| − | |||
<div class="plainlinks"> | <div class="plainlinks"> | ||
{|WIDTH="100%" | {|WIDTH="100%" | ||
|WIDTH="15%" VALIGN="TOP"|__TOC__ | |WIDTH="15%" VALIGN="TOP"|__TOC__ | ||
|WIDTH="35%" VALIGN="TOP"| | |WIDTH="35%" VALIGN="TOP"| | ||
| − | * '''Quest Objective:''' | + | * '''Quest Objective:''' Find the nomad women. |
| − | * '''Quest Difficulty:''' | + | * '''Quest Difficulty:''' 2 Stars |
| − | * '''Quest Giver:''' | + | * '''Quest Giver:''' [[Sacred 2:Nomad|Nomad]] |
| − | * '''Location(s):''' | + | * '''Location(s):''' [[Sacred 2:Artamark|Artamark]] Region, south of the [[Sacred 2:Royal Honky-Tonk Tavern|Royal Honky-Tonk Tavern]] |
| − | * '''Prerequisite Quest:''' | + | * '''Prerequisite Quest:''' None |
| − | * '''Next Quest:''' | + | * '''Next Quest:''' [[Sacred 2:A Strange Machine|A Strange Machine]] |
| − | * '''Reward:''' | + | * '''Reward:''' [[Sacred 2:Experience|Experience]] |
| − | |WIDTH="50%" VALIGN="TOP"| | + | |WIDTH="50%" VALIGN="TOP"| |
| − | {{S2frame|[[Image: | + | {{S2frame|[[Image:nomadmap.jpg|250px]][[Image:nomadtab.jpg|250px]]|right|'''[[Sacred 2:Map of Ancaria|View the Ancaria Interactive Map]]'''}} |
|} | |} | ||
{|WIDTH="100%" | {|WIDTH="100%" | ||
|WIDTH="60%" VALIGN="TOP"| | |WIDTH="60%" VALIGN="TOP"| | ||
== Quick Walkthrough == | == Quick Walkthrough == | ||
| − | + | * Talk to the [[Sacred 2:Nomad|Nomad]] | |
| − | * | + | * Find the cave where the kidnapped women were taken to |
| − | * | + | * Defeat 8 [[Sacred 2:Guardian|Guardians]] |
| − | * | + | * Talk to one of the [[Sacred 2:Nomad Woman|Nomad Women]] |
| − | |WIDTH="40%" VALIGN="TOP"|{{S2frame|[[Image: | + | |WIDTH="40%" VALIGN="TOP"|{{S2frame|[[Image:nomadloc.jpg|500px]]}} |
|} | |} | ||
== Detailed Walkthrough == | == Detailed Walkthrough == | ||
| − | + | Just south of the Royal Honky Tonk Tavern you'll stumble across a recent ambush. | |
| + | |||
| + | {{S2frame|[[Image:nomadchat.jpg|430px]]|left}} | ||
| + | <br clear="both" /> | ||
| − | + | All the nomad men are dead or dying. You speak to the only person still alive. He'll tell that their caravan was attacked and all the women were carried off while the men were left to die. You set off on the trail of the abductors. You find the cave just east of [[Sacred 2:Valeview|Valeview]]. | |
| + | {{S2frame|[[Image:nomadcavemap.jpg|250px]][[Image:nomadcavetab.jpg|250px]]|left]]}} | ||
| − | |||
| − | {{S2frame|[[Image: | + | {{S2frame|[[Image:nomadcaveloc.jpg|400px]]|left}} |
<br clear="both" /> | <br clear="both" /> | ||
| − | {{S2frame|[[Image: | + | Enter the cave and kill all the [[Sacred 2:Guardian|Guardians]]. Once the area is clear of bad guys, talk to one of the [[Sacred 2:Nomad Woman|Nomad Women]]. She seems....weird. She's ready to do anything to please me. Something is not right here. |
| + | |||
| + | {{S2frame|[[Image:nomadcavewomenloc.jpg|400px]]|left}} | ||
<br clear="both" /> | <br clear="both" /> | ||
| − | + | {{S2frame|[[Image:nomadwomanchat.jpg|400px]]|left}} | |
| − | {{S2frame|[[Image: | ||
<br clear="both" /> | <br clear="both" /> | ||
| − | + | Here ends the 1st part of the chain quest. Talking to another [[Sacred 2:Nomad Woman|Nomad Woman]] will start the 2nd part of the chain quest, [[Sacred 2:A Strange Machine|A Strange Machine]]. | |
| − | |||
| − | |||
| − | [[ | ||
| − | |||
| − | |||
| − | |||
| − | |||
| − | |||
== Quest Enemies == | == Quest Enemies == | ||
| − | |||
| − | + | == [[Sacred 2:Guardian|Guardian]] == | |
| − | {{:Sacred 2: | + | {{:Sacred 2:Guardian}} |
| − | == | + | == Logbook Entry == |
| − | |||
| − | |||
| − | |||
| − | |||
| − | |||
| − | |||
| − | |||
{| | {| | ||
| − | |{{S2frame|[[Image: | + | |{{S2frame|[[Image:kidnappedwomenlog.jpg|300px]]|left}} |
| − | |||
|} | |} | ||
| − | |||
== Notes == | == Notes == | ||
| − | |||
| − | |||
| + | </div> | ||
| − | |||
| − | |||
[[Category:Sacred 2 Quest|{{PAGENAME}}]] | [[Category:Sacred 2 Quest|{{PAGENAME}}]] | ||
| − | + | [[Category:Sacred 2 Chain Quest Part|{{PAGENAME}}]] | |
| − | [[Category:Sacred 2 Chain Quest | ||
| − | |||
| − | |||
| − | |||
| − | |||
| − | |||
| − | |||
Revision as of 21:48, 18 December 2011
|
| ||||||||||


Quick Walkthrough
|
| |||||||||

Detailed Walkthrough
Just south of the Royal Honky Tonk Tavern you'll stumble across a recent ambush.
|
| ||
 |
||
All the nomad men are dead or dying. You speak to the only person still alive. He'll tell that their caravan was attacked and all the women were carried off while the men were left to die. You set off on the trail of the abductors. You find the cave just east of Valeview.
|
| ||
  |
||
|
| ||
 |
||
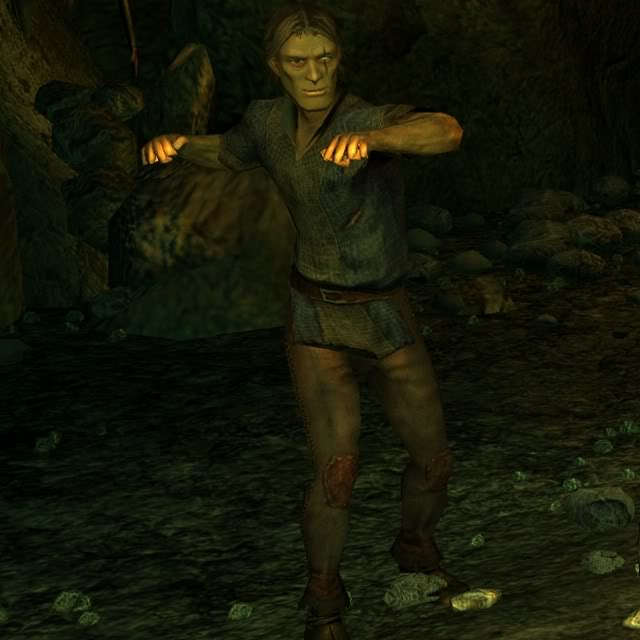
Enter the cave and kill all the Guardians. Once the area is clear of bad guys, talk to one of the Nomad Women. She seems....weird. She's ready to do anything to please me. Something is not right here.
|
| ||
 |
||
|
| ||
 |
||
Here ends the 1st part of the chain quest. Talking to another Nomad Woman will start the 2nd part of the chain quest, A Strange Machine.
Quest Enemies
Guardian
|
|
Damage Types: Weakest Against: Quest:Lost Thoughts Quest Location: Griffinborough in Artamark | ||||||||||||||||||


Logbook Entry
| |||||||||
