Difference between revisions of "Sacred 2:A Long Journey"
Jump to navigation
Jump to search
| Line 10: | Line 10: | ||
* '''Next Quest:''' None | * '''Next Quest:''' None | ||
* '''Reward:''' | * '''Reward:''' | ||
| − | |WIDTH="50%" VALIGN="TOP"| | + | |WIDTH="50%" VALIGN="TOP"| |
| − | + | {{S2frame|[[Image:LongJourney_LinaMap.jpg|250px]][[Image:LongJourney_LinaTabMap.jpg|250px]]|right|'''[[Sacred 2:Map of Ancaria|View the Ancaria Interactive Map]]'''}} | |
| − | {{S2frame|[[Image: | ||
|} | |} | ||
{|WIDTH="100%" | {|WIDTH="100%" | ||
| Line 21: | Line 20: | ||
* Deliver the package to [[Sacred 2:Commander Elsurion|Commander Elsurion]] in [[Sacred 2:Artamark|Artamark]] | * Deliver the package to [[Sacred 2:Commander Elsurion|Commander Elsurion]] in [[Sacred 2:Artamark|Artamark]] | ||
| − | |WIDTH="40%" VALIGN="TOP"|{{S2frame|[[Image: | + | |WIDTH="40%" VALIGN="TOP"|{{S2frame|[[Image:LongJourney_LinaCamera.jpg|500px]]}} |
|} | |} | ||
| Line 28: | Line 27: | ||
Travel north towards Dragon Maw Pass to the DeElfici trading post. There you will meet Glydial DeElfici, who will give you the package that is to be delivered. | Travel north towards Dragon Maw Pass to the DeElfici trading post. There you will meet Glydial DeElfici, who will give you the package that is to be delivered. | ||
| + | {{S2frame|[[Image:LongJourney_DeElficiMap.jpg|250px]][[Image:LongJourney_DeElficiTabMap.jpg|250px]]|left]]}} | ||
| + | <br clear="both" /> | ||
| + | {{S2frame|[[Image:LongJourney_DeElficiCamera.jpg|400px]]|left}} | ||
| + | <br clear="both" /> | ||
| + | {{S2frame|[[Image:LongJourney_DeElficiDialog.jpg|430px]]|left}} | ||
| + | <br clear="both" /> | ||
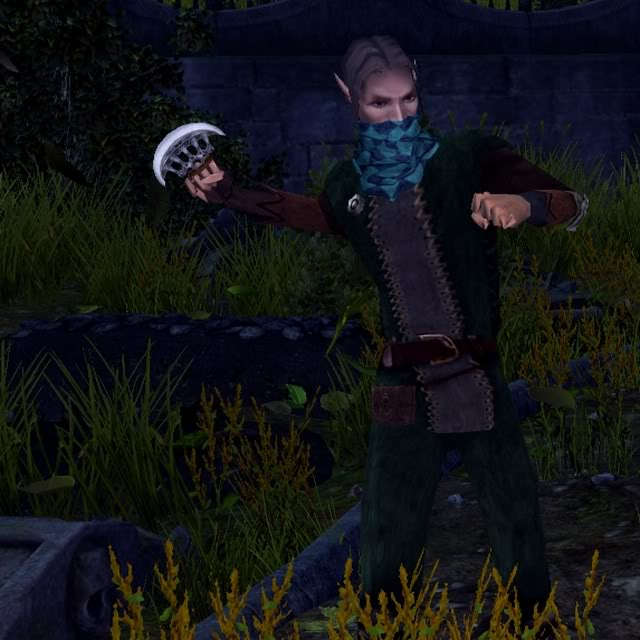
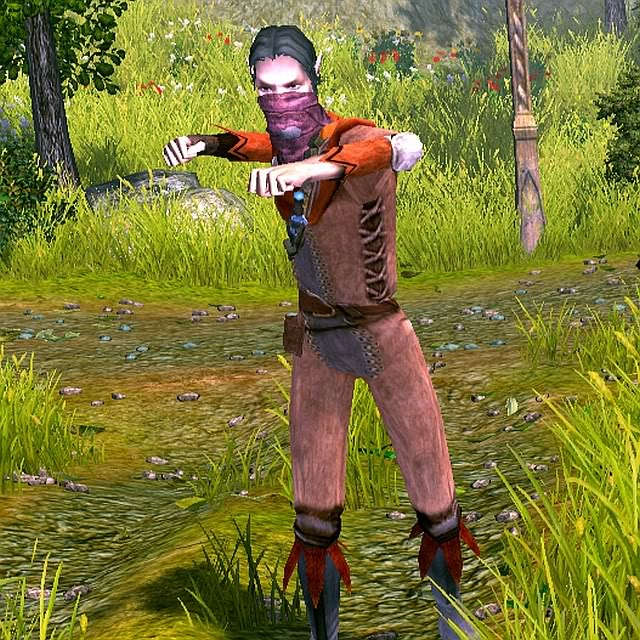
Travel through the secret tunnel into Artamark. Go through [[Sacred 2:Black Oaks|Black Oaks]] towards [[Sacred 2:Wargfels|Wargfels]]. At the first drop site, you will be attacked by brigands. | Travel through the secret tunnel into Artamark. Go through [[Sacred 2:Black Oaks|Black Oaks]] towards [[Sacred 2:Wargfels|Wargfels]]. At the first drop site, you will be attacked by brigands. | ||
| + | {{S2frame|[[Image:LongJourney_BrigandMap.jpg|250px]][[Image:LongJourney_BrigandTabMap.jpg|250px]]|left]]}} | ||
| + | <br clear="both" /> | ||
Defeat the brigands and continue west, and you will meet Commander Elsurion on the road. He thanks you and the quest is completed. | Defeat the brigands and continue west, and you will meet Commander Elsurion on the road. He thanks you and the quest is completed. | ||
| − | + | {{S2frame|[[Image:LongJourney_ElsurionMap.jpg|250px]][[Image:LongJourney_ElsurionTabMap.jpg|250px]]|left]]}} | |
| − | |||
| − | |||
| − | |||
| − | |||
| − | |||
| − | |||
| − | {{S2frame|[[Image: | ||
<br clear="both" /> | <br clear="both" /> | ||
| − | + | {{S2frame|[[Image:LongJourney_ElsurionCamera.jpg|400px]]|left}} | |
| − | |||
| − | {{S2frame|[[Image: | ||
<br clear="both" /> | <br clear="both" /> | ||
| − | + | {{S2frame|[[Image:LongJourney_ElsurionDialog.jpg|430px]]|left}} | |
| − | |||
| − | {{S2frame|[[Image: | ||
| − | |||
| − | |||
| − | |||
| − | |||
| − | |||
| − | |||
| − | |||
| − | |||
| − | |||
| − | |||
<br clear="both" /> | <br clear="both" /> | ||
== Quest Enemies == | == Quest Enemies == | ||
| − | |||
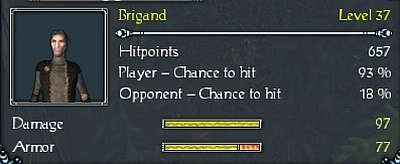
=== [[Sacred 2:Brigand|Brigand]] === | === [[Sacred 2:Brigand|Brigand]] === | ||
{{:Sacred 2:Brigand}} | {{:Sacred 2:Brigand}} | ||
| − | |||
== Logbook Entry == | == Logbook Entry == | ||
| − | |||
{| | {| | ||
| − | |{{S2frame|[[Image: | + | |{{S2frame|[[Image:LongJourney_Logbook.jpg|300px]]|left}} |
| − | |||
|} | |} | ||
| Line 83: | Line 65: | ||
[[Category:Sacred 2 Quest|{{PAGENAME}}]] | [[Category:Sacred 2 Quest|{{PAGENAME}}]] | ||
[[Category:Sacred 2 Side Quest|{{PAGENAME}}]] | [[Category:Sacred 2 Side Quest|{{PAGENAME}}]] | ||
| + | [[Category:Sacred 2 Chain Quest|{{PAGENAME}}]] | ||
[[Category:Sacred 2 Light Path Quest|{{PAGENAME}}]] | [[Category:Sacred 2 Light Path Quest|{{PAGENAME}}]] | ||
Revision as of 00:26, 5 March 2011
| |||||||||||


Quick Walkthrough
|
| |||||||||

Detailed Walkthrough
You will meet Lina in Clearview. She will ask you to deliver a package to her son who is a soldier.
Travel north towards Dragon Maw Pass to the DeElfici trading post. There you will meet Glydial DeElfici, who will give you the package that is to be delivered.
|
| ||
  |
||
|
| ||
 |
||
|
| ||
 |
||
Travel through the secret tunnel into Artamark. Go through Black Oaks towards Wargfels. At the first drop site, you will be attacked by brigands.
|
| ||
  |
||
Defeat the brigands and continue west, and you will meet Commander Elsurion on the road. He thanks you and the quest is completed.
|
| ||
  |
||
|
| ||
 |
||
|
| ||
 |
||
Quest Enemies
Brigand
|
|
Damage Types: Weakest Against: Region: Tyr Lysia | ||||||||||||||||||


|
|
Damage Types: Weakest Against: Region: Tyr Lysia | ||||||||||||||||||

Logbook Entry
| |||||||||