Difference between revisions of "Sacred 2:Semil Keytan"
(New page: {{subst:Quest}}) |
|||
| Line 1: | Line 1: | ||
| − | |||
| − | |||
| − | |||
<div class="plainlinks"> | <div class="plainlinks"> | ||
{|WIDTH="100%" | {|WIDTH="100%" | ||
|WIDTH="15%" VALIGN="TOP"|__TOC__ | |WIDTH="15%" VALIGN="TOP"|__TOC__ | ||
|WIDTH="35%" VALIGN="TOP"| | |WIDTH="35%" VALIGN="TOP"| | ||
| − | * '''Quest Objective:''' | + | * '''Quest Objective:''' Find and rescue Semil Keytan |
| − | * '''Quest Difficulty:''' | + | * '''Quest Difficulty:''' No difficulty given for this quest |
| − | * '''Quest Giver:''' | + | * '''Quest Giver:''' [[Sacred 2:Seargent Keytan|Seargent Keytan]] |
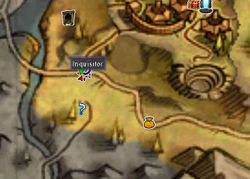
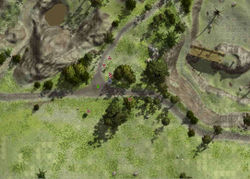
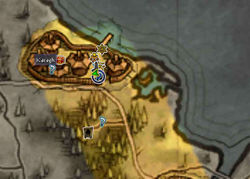
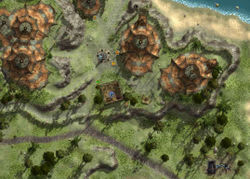
| − | * '''Location(s):''' | + | * '''Location(s):''' [[Sacred 2:Nor Plat|Nor Plat]] south of [[Sacred 2:Ruka|Ruka]] |
| − | * '''Prerequisite Quest:''' | + | * '''Prerequisite Quest:''' [[Sacred 2:The Rise of Shirka Alana|The Rise of Shirka Alana]] |
| − | * '''Next Quest:''' | + | * '''Next Quest:''' [[Sacred 2:Shirka with the Dragons|Shirka with the Dragons]] |
| − | * '''Reward:''' | + | * '''Reward:''' [[Sacred 2:Experience|Experience]] |
| − | + | * '''Main Quest Page:''' [[Sacred 2:Inquisitor Class Chain Quest|Inquisitor Class Chain Quest]] | |
| − | {{S2frame|[[Image: | + | |WIDTH="50%" VALIGN="TOP"| |
| + | |||
| + | {{S2frame|[[Image:scoutmap.jpg|250px]][[Image:scouttab.jpg|250px]]|right|'''[[Sacred 2:Map of Ancaria|View the Ancaria Interactive Map]]'''}} | ||
|} | |} | ||
{|WIDTH="100%" | {|WIDTH="100%" | ||
|WIDTH="60%" VALIGN="TOP"| | |WIDTH="60%" VALIGN="TOP"| | ||
| + | |||
== Quick Walkthrough == | == Quick Walkthrough == | ||
| − | + | * Defeat 7 [[Soldier of the Scouting Party|Soldiers of the Scouting Party]] | |
| − | * | + | * Talk to [[Sacred 2:Seargent Keytan|Seargent Keytan]] |
| − | * | + | * Travel to [[Sacred 2:Karagh|Karagh]] |
| − | * | + | * Talk to Semil again |
| − | |WIDTH="40%" VALIGN="TOP"|{{S2frame|[[Image: | + | * Escort Semil to [[Sacred 2Seraphim Island|Seraphim Island]] |
| + | * Speak to [[Sacred 2:Fisherman|Fisherman]] (Semil leaves party) | ||
| + | |||
| + | |WIDTH="40%" VALIGN="TOP"|{{S2frame|[[Image:scoutloc.jpg|500px]]}} | ||
|} | |} | ||
== Detailed Walkthrough == | == Detailed Walkthrough == | ||
| − | |||
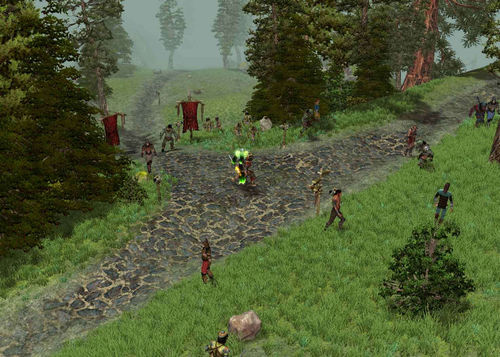
| − | + | You're heading toward Tharak when you come across a scouting party attacking some orcs just south of [[Sacred 2:Ruka|Ruka]]. As you head closer to investigate the party notices you and attacks. You eliminate them all except one. One of them is Semil. | |
| + | |||
| + | [[Image:keytanchat.png|430px]] | ||
| + | |||
| + | |||
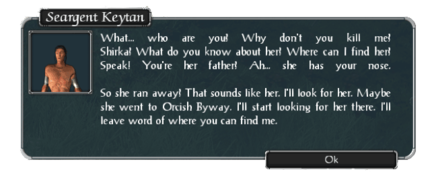
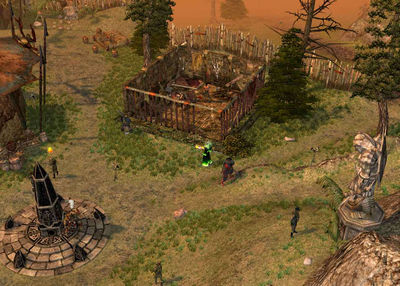
| + | You spare his life, if you killed him Shirka would never forgive you. He doesn't understand why you spared him at first. But you explain who you are and that [[Sacred 2:Shirka Alana - NPC|Shirka]] is your daughter. You tell him that she ran away and don't know where she's gone. It didn't surprise him that she ran off and said he'll head to Orcish Byway and start looking for her there. He promises to keep in touch. You continue on your travels heading northwest through Tharak until you enter the town of [[Sacred 2:Karagh|Karagh]]. You see Semil in a cage. That fool went and get himself caught near the border. He's about a good of a soldier as Shirka is. You bail him out and decide to keep him close to you. Probably the only way he'll leave Nor Plat alive. | ||
| + | |||
| + | {{S2frame|[[Image:keytan2map.jpg|250px]][[Image:keytan2tab.jpg|250px]]|left]]}} | ||
| − | |||
| − | {{S2frame|[[Image: | + | {{S2frame|[[Image:keytan2loc.jpg|400px]]|left}} |
<br clear="both" /> | <br clear="both" /> | ||
| + | [[Image:keytan2chat.png|430px]] | ||
| + | |||
| + | You travel to [[Sacred 2:Bulutuz|Bulutuz]] and take a boat over to the [[Sacred 2:Seraphim Island|Seraphim Island]]. At the docks you speak with a [[Sacred 2:Fisherman|Fisherman]]. He agrees to let Semil travel with him on his boat to [[Sacred 2:Urthak's Moxie|Urthak's Moxie]]. He doesn't charge you a thing and says it's a honor to be of service to you. Finally a decent upstanding citizen. | ||
| + | |||
| + | {{S2frame|[[Image:fishermanmap.jpg|250px]][[Image:fishermantab.jpg|250px]]|left]]}} | ||
| − | |||
| − | |||
| − | + | {{S2frame|[[Image:fishermanloc.jpg|400px]]|left}} | |
| − | {{S2frame|[[Image: | ||
<br clear="both" /> | <br clear="both" /> | ||
| + | [[Image:fishermanchat.png|430px]] | ||
| − | |||
| − | + | Well he should be safe, now to find Shirka. | |
| − | + | Here ends part 4 of the chain quest. Travel through the [[Sacred 2:Carnach Cave|Carnach Cave]] to continue in part 5, [[Sacred 2:Shirka with the Dragons|Shirka with the Dragons]]. | |
| − | |||
| − | |||
== Quest Enemies == | == Quest Enemies == | ||
| − | |||
| − | + | == [[Sacred 2:Soldier of the Scouting Party|Soldier of the Scouting Party]] == | |
| − | {{:Sacred 2: | + | {{:Sacred 2:Soldier of the Scouting Party}} |
| + | |||
== Hirelings and Escorts == | == Hirelings and Escorts == | ||
| − | |||
| − | + | ||
| − | * [[Sacred 2: | + | * [[Sacred 2:Seargent Keytan|Seargent Keytan]] - Escort. Immortal. . |
== Logbook Entry == | == Logbook Entry == | ||
| − | + | ||
| − | {| | + | {| |
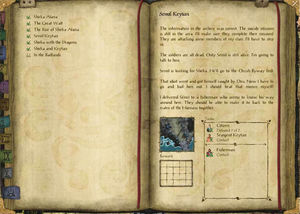
| − | |{{S2frame|[[Image: | + | |{{S2frame|[[Image:semillog.jpg|300px]]|left}} |
| − | |||
|} | |} | ||
== Notes == | == Notes == | ||
| − | + | ||
</div> | </div> | ||
| − | |||
[[Category:Sacred 2 Quest|{{PAGENAME}}]] | [[Category:Sacred 2 Quest|{{PAGENAME}}]] | ||
| − | + | [[Category:Sacred 2 Chain Quest Part|{{PAGENAME}}]] | |
| − | [[Category:Sacred 2 Chain Quest | + | [[Category:Sacred 2 Class Quest|{{PAGENAME}}]] |
| − | [[Category:Sacred 2 Class | ||
| − | |||
[[Category:Sacred 2 Shadow Path Quest|{{PAGENAME}}]] | [[Category:Sacred 2 Shadow Path Quest|{{PAGENAME}}]] | ||
| − | [[Category:Sacred 2 | + | [[Category:Sacred 2 Nor Plat Quest|{{PAGENAME}}]] |
| − | |||
| − | |||
Revision as of 13:03, 1 January 2012
|
| ||||||||||
Quick Walkthrough
|
| |||||||||
Detailed Walkthrough
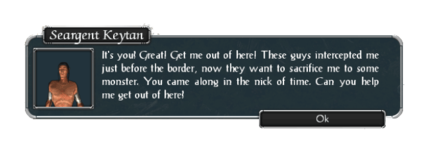
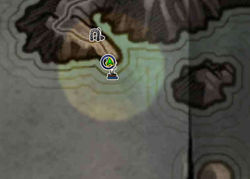
You're heading toward Tharak when you come across a scouting party attacking some orcs just south of Ruka. As you head closer to investigate the party notices you and attacks. You eliminate them all except one. One of them is Semil.
You spare his life, if you killed him Shirka would never forgive you. He doesn't understand why you spared him at first. But you explain who you are and that Shirka is your daughter. You tell him that she ran away and don't know where she's gone. It didn't surprise him that she ran off and said he'll head to Orcish Byway and start looking for her there. He promises to keep in touch. You continue on your travels heading northwest through Tharak until you enter the town of Karagh. You see Semil in a cage. That fool went and get himself caught near the border. He's about a good of a soldier as Shirka is. You bail him out and decide to keep him close to you. Probably the only way he'll leave Nor Plat alive.
|
| ||
|
| ||
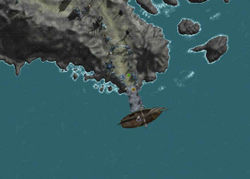
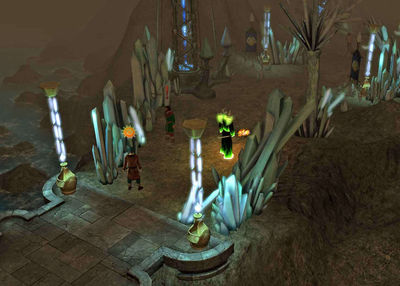
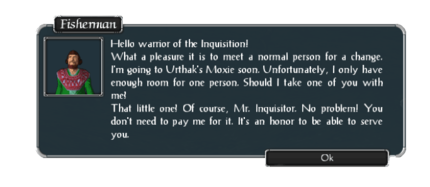
You travel to Bulutuz and take a boat over to the Seraphim Island. At the docks you speak with a Fisherman. He agrees to let Semil travel with him on his boat to Urthak's Moxie. He doesn't charge you a thing and says it's a honor to be of service to you. Finally a decent upstanding citizen.
|
| ||
|
| ||
Well he should be safe, now to find Shirka.
Here ends part 4 of the chain quest. Travel through the Carnach Cave to continue in part 5, Shirka with the Dragons.
Quest Enemies
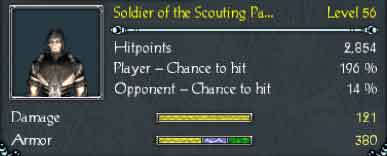
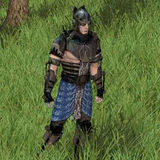
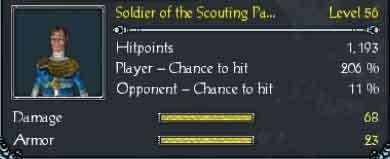
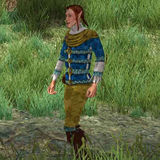
Soldier of the Scouting Party
|
|
Damage Types: Weakest Against: Quest:Semil Keytan | ||||||||||||||||||
|
|
Damage Types: Weakest Against: Quest:Semil Keytan | ||||||||||||||||||
Hirelings and Escorts
- Seargent Keytan - Escort. Immortal. .
Logbook Entry
| |||||||||
